Why is Student Email Changing?
How does this affect Students?
Student Email Migration Schedule
What should I do before the Migration?
How to save your email
Students will need to export their own email from Office365.
STEP 1
Install Microsoft Outlook to your Computer
STEP 2
Add your SFCC email to Outlook
- Select File > Add Account.
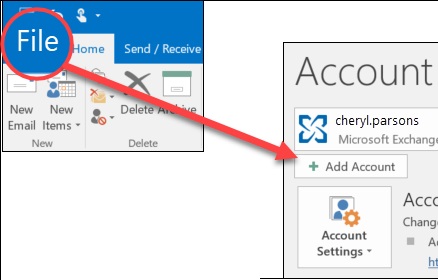
- Enter your email address and click Connect.
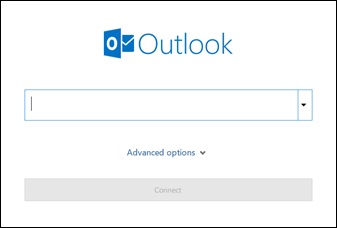
- If prompted, enter your password again, then select OK > Finish to start using your email account in Outlook.
STEP 3
Export your email to a .pst file. You will need to keep this file and use it after the migration to re-import your email.
- At the top of your Outlook ribbon, choose File.
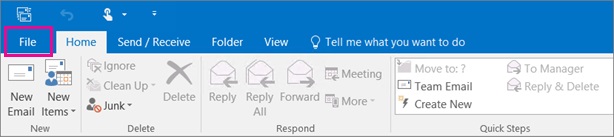
- Choose Open & Export > Import/Export.
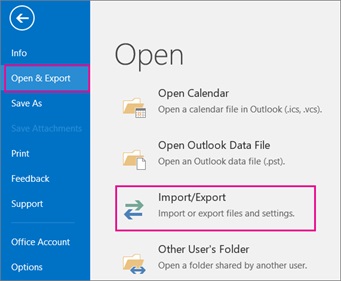
- Choose Export to a file.
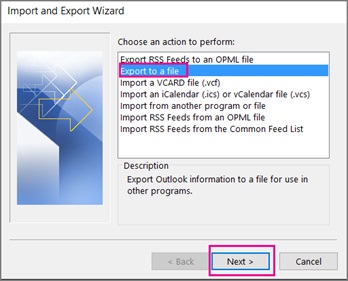
- Click Outlook Data File (.pst), and then click Next.
-
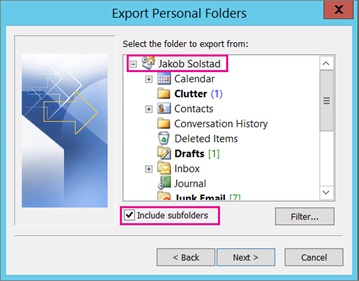
Select the name of the email account to export, as shown in the picture below. Only information for one account can be exported information at a time.
Make sure that the Include subfolders check box is selected. This way everything in the account will be exported: Calendar, Contacts, and Inbox. Choose Next.
- Click Browse to select where to save the Outlook Data File (.pst). Type a file name, and then click OK to continue.
- If you are exporting to an existing Outlook Data File (.pst), under Options, specify what to do when exporting items that already exist in the file.
- Click Finish.
- Outlook begins the export immediately
How to save your OneDrive files
What should I do after the Migration?
How do I login to Office365?
https://support.office.com/en-us/article/sign-in-to-office-b9582171-fd1f-4284-9846-bdd72bb28426/