Access Zoom through Canvas.
Register for a Zoom Meetings for Education
Pre-recorded Zoom Meeting for Education
Adding Zoom to a Canvas Course
If you are needing to use Zoom for your courses, you can add the Zoom menu option to each of your courses. The below steps will walk your through this process. A printable version can be found here.
STEP 1
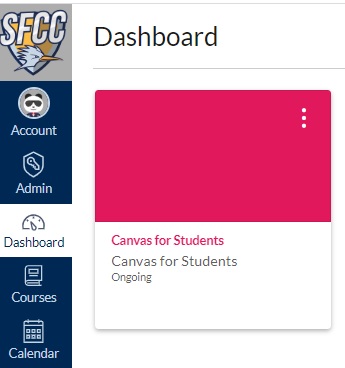
Select your course once logged into Canvas by selecting a course card.
STEP 2
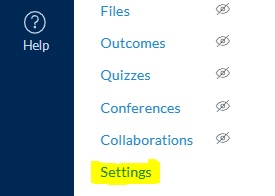
Once in the course, select the Settings option at the bottom of the course menu.
STEP 3
Choose the Navigation tab under the course settings.

STEP 4
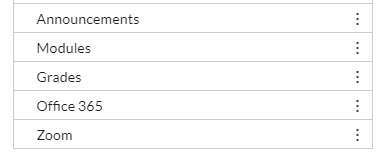
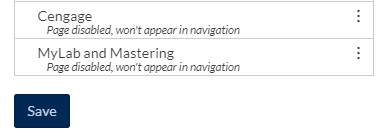
Scroll down to the bottom of the Navigation menu and left click + hold mouse and drag to your active menu which is above the “Drag items here to hide them from students” text.
STEP 5
Scroll down to bottom and Save the changes.
Finished
Once done, the Navigation for the course should now display the Zoom link where you can add meetings for your classes or utilize the open room option. You have to be an instructor to create meetings.

Zoom Bombing prevention
- Do not use your Personal Meeting Room ID (PMI) to conduct meetings or classes.
- Always check Generate Automatically for the Meeting ID when creating new meetings. In the meeting details screen, you can verify this was done because the Meeting ID will be different from your Personal Meeting ID.
- Always check Generate Automatically for the Meeting ID when creating new meetings. In the meeting details screen, you can verify this was done because the Meeting ID will be different from your Personal Meeting ID.
- Control access for participants in your meetings. These settings can be reviewed and turned on/off from the meeting details page.
- For virtual classrooms in Canvas we recommend enabling the waiting room, turning off the join before host option, or requiring a password to join. By enabling the waiting room, the host controls which participants are allowed into the meeting room.
- For one-on-one meetings (advising, virtual office hours, tutoring) we recommend enabling the waiting room when you are using one meeting ID (recurring, no fixed time) to schedule several meetings.
- For all other recurring meetings with more than two participants (like committee meetings) we recommend enabling the waiting room or requiring a password to join. Requiring registration is also a great option if you are hosting a professional development training type meeting.
- Screen sharing is very helpful to allow your students, advisees, or committee members to see pages, files, or content from your computer screen. It can also be a way for a “Zoom bomber” to share inappropriate content. You can limit this feature in two different ways.
-
- When scheduling your meeting from the web interface (zoom.us), you can turn this feature off globally for all meetings:
-
-
- Click on Settings in the left-hand menu
- Scroll down to Screen sharing and under Who can share? click Host Only
- Click on Save
-
-
- If you forget to change the setting before you start your meeting, you can modify your screen settings during the meeting:
-
-
- Click the caret to the right of the green Share Screen button in the center of the bottom row of icons
- Click Advanced Sharing Options…
- A dialog box will pop up allowing you to switch screen sharing availability from all participants to the host only.
-
Check out the “Best Practices” Blog created by Zoom.